Before R&B Solutions delivers your building, it’s crucial to have all underground utilities marked to avoid damaging them during setup. This is your responsibility as the customer.
It is the CUSTOMER’S responsibility to have all possible utilities marked (natural gas, electricity, phone, etc.) before the driver delivers your building. The CUSTOMER is also responsible for marking the location of all private lines such as invisible pet fences, sprinkler systems, yard lights, and gas lines.
If we determine that you need to have the utilities marked before we anchor your building and you haven’t arranged with 811 to do so, we may not anchor your building. That decision lies solely with the driver. If we return to anchor your building, you may be charged for the additional service call.
If your building will be located in a clearly open area with no possibility of public utility and private lines, you may not be required to notify 811. When in doubt, call 811.
Call 811 and they will mark your utility lines for FREE.
- Call 811 before we set your building
- Call 811 at least 48 hours (2 business days) before your scheduled delivery
- Utility companies will mark the location of underground utility lines
Remember, the building anchors may penetrate 3′ into the ground.
Visit WWW.811NOW.COM for more information and state-specific details.
R&B Solutions'
Local Regulations
Contact your Local Codes Office to verify:
- Permits needed – Building, Code, and City;
- Permissible locations for the building and verification of property lines;
- Signed Permission if crossing another’s property – ask your Dealer for a form if necessary.
R&B Solutions and its agents are not responsible for permits, setbacks, restrictions, or covenants.
Site Location Options
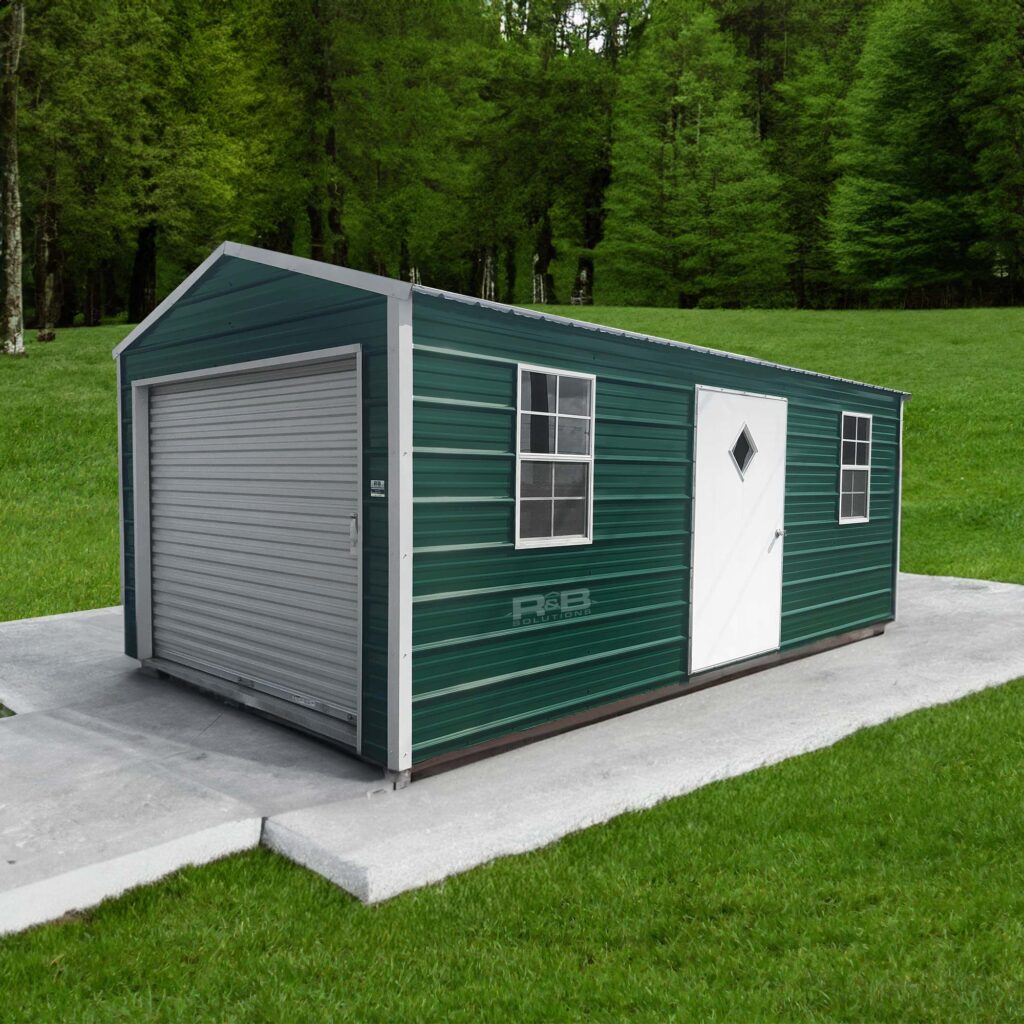
Concrete Pad
For ultimate stability and longevity, consider our concrete pad option.
Concrete is ideal for larger sheds, uneven terrain, or areas susceptible to flooding. While requiring professional installation, it offers a level, permanent foundation, eliminating concerns about shifting or settling over time.
For smaller sheds or well-drained, level ground, our blocking or gravel options may be suitable.
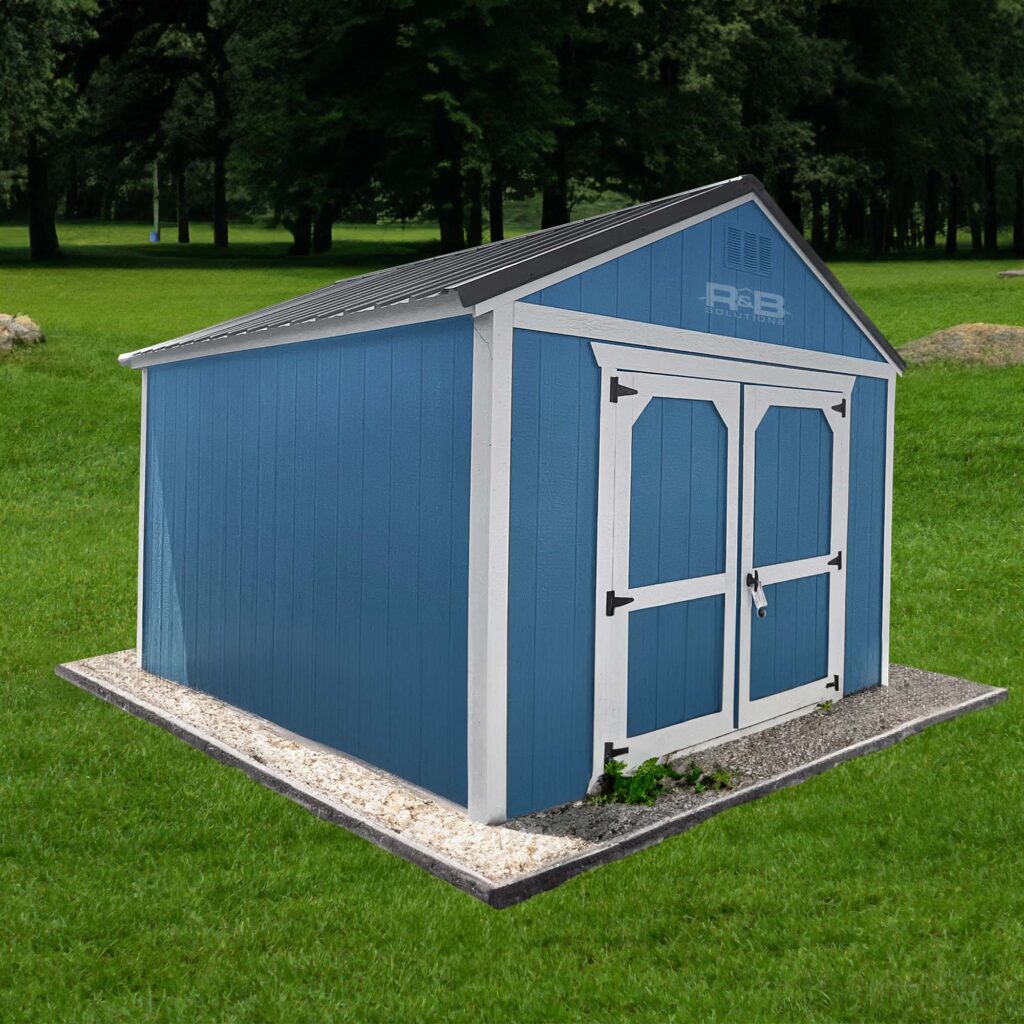
Gravel Pad
An affordable and pourous foundation, gravel pads provide excellent drainage and protects your shed from ground moisture.
Simply level the ground (removing 4-5 inches of sod if needed) and fill the area with compacted 4″ of crushed gravel #57 or 411. Extend the pad at least 1 foot wider and longer than your shed for stability.
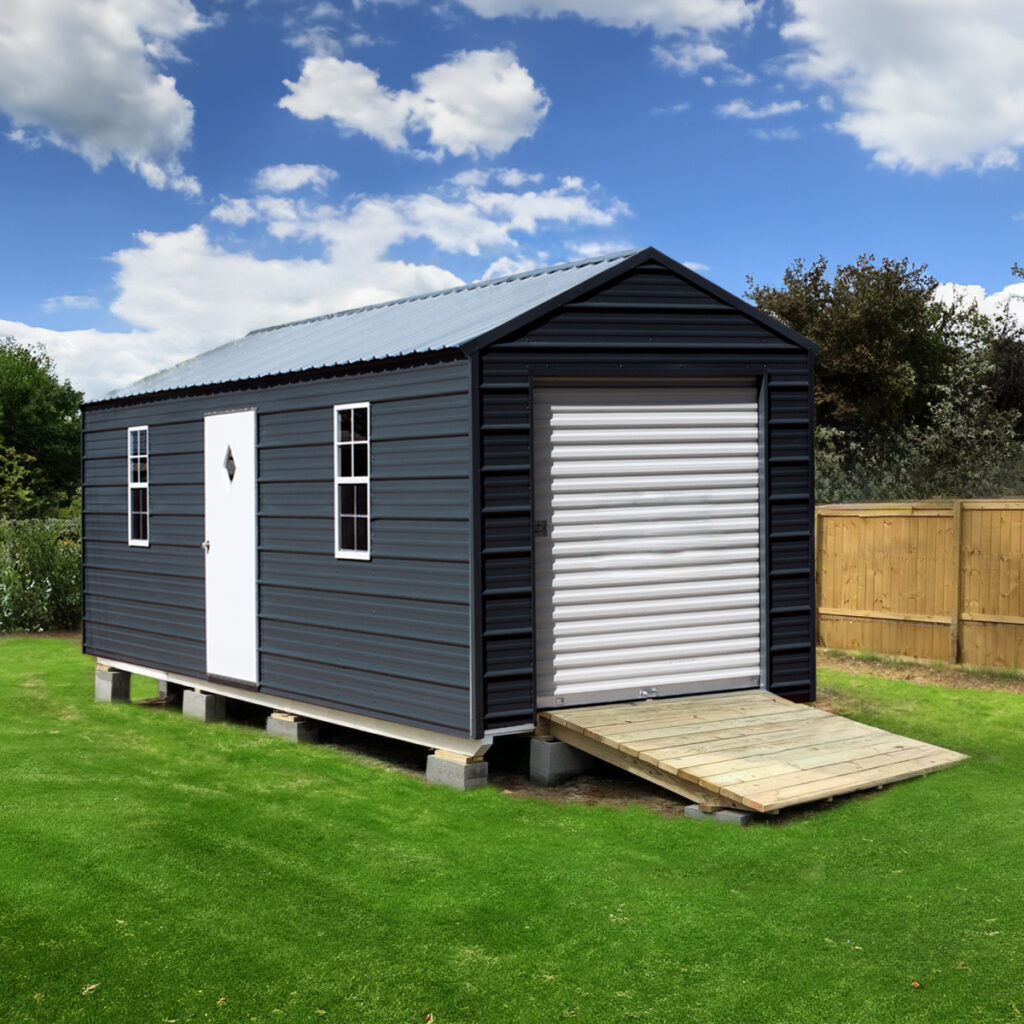
Blocking
A cost-effective foundation on level ground, consider concrete block piers.
Compared to gravel, concrete blocks offer better stability and protection from moisture in areas with moderate drainage.
While not ideal for slopes or flood zones, they’re a simple DIY option for many shed sites. We include leveling up to 8″ with concrete blocks in our pricing, but professional installation is recommended for optimal results.
Site Prep
Site prep is an important step in preparing for your building’s delivery.
Getting your site ready for a shed, building, or other structure shouldn’t be a headache. R&B Solutions is here to guide you through the process, ensuring a smooth and successful foundation for your project.
Design It
Select a building style.
Customize It
Add, remove, or edit your building's components.
Prepare Site
Prepare your building's site.
Accessibility
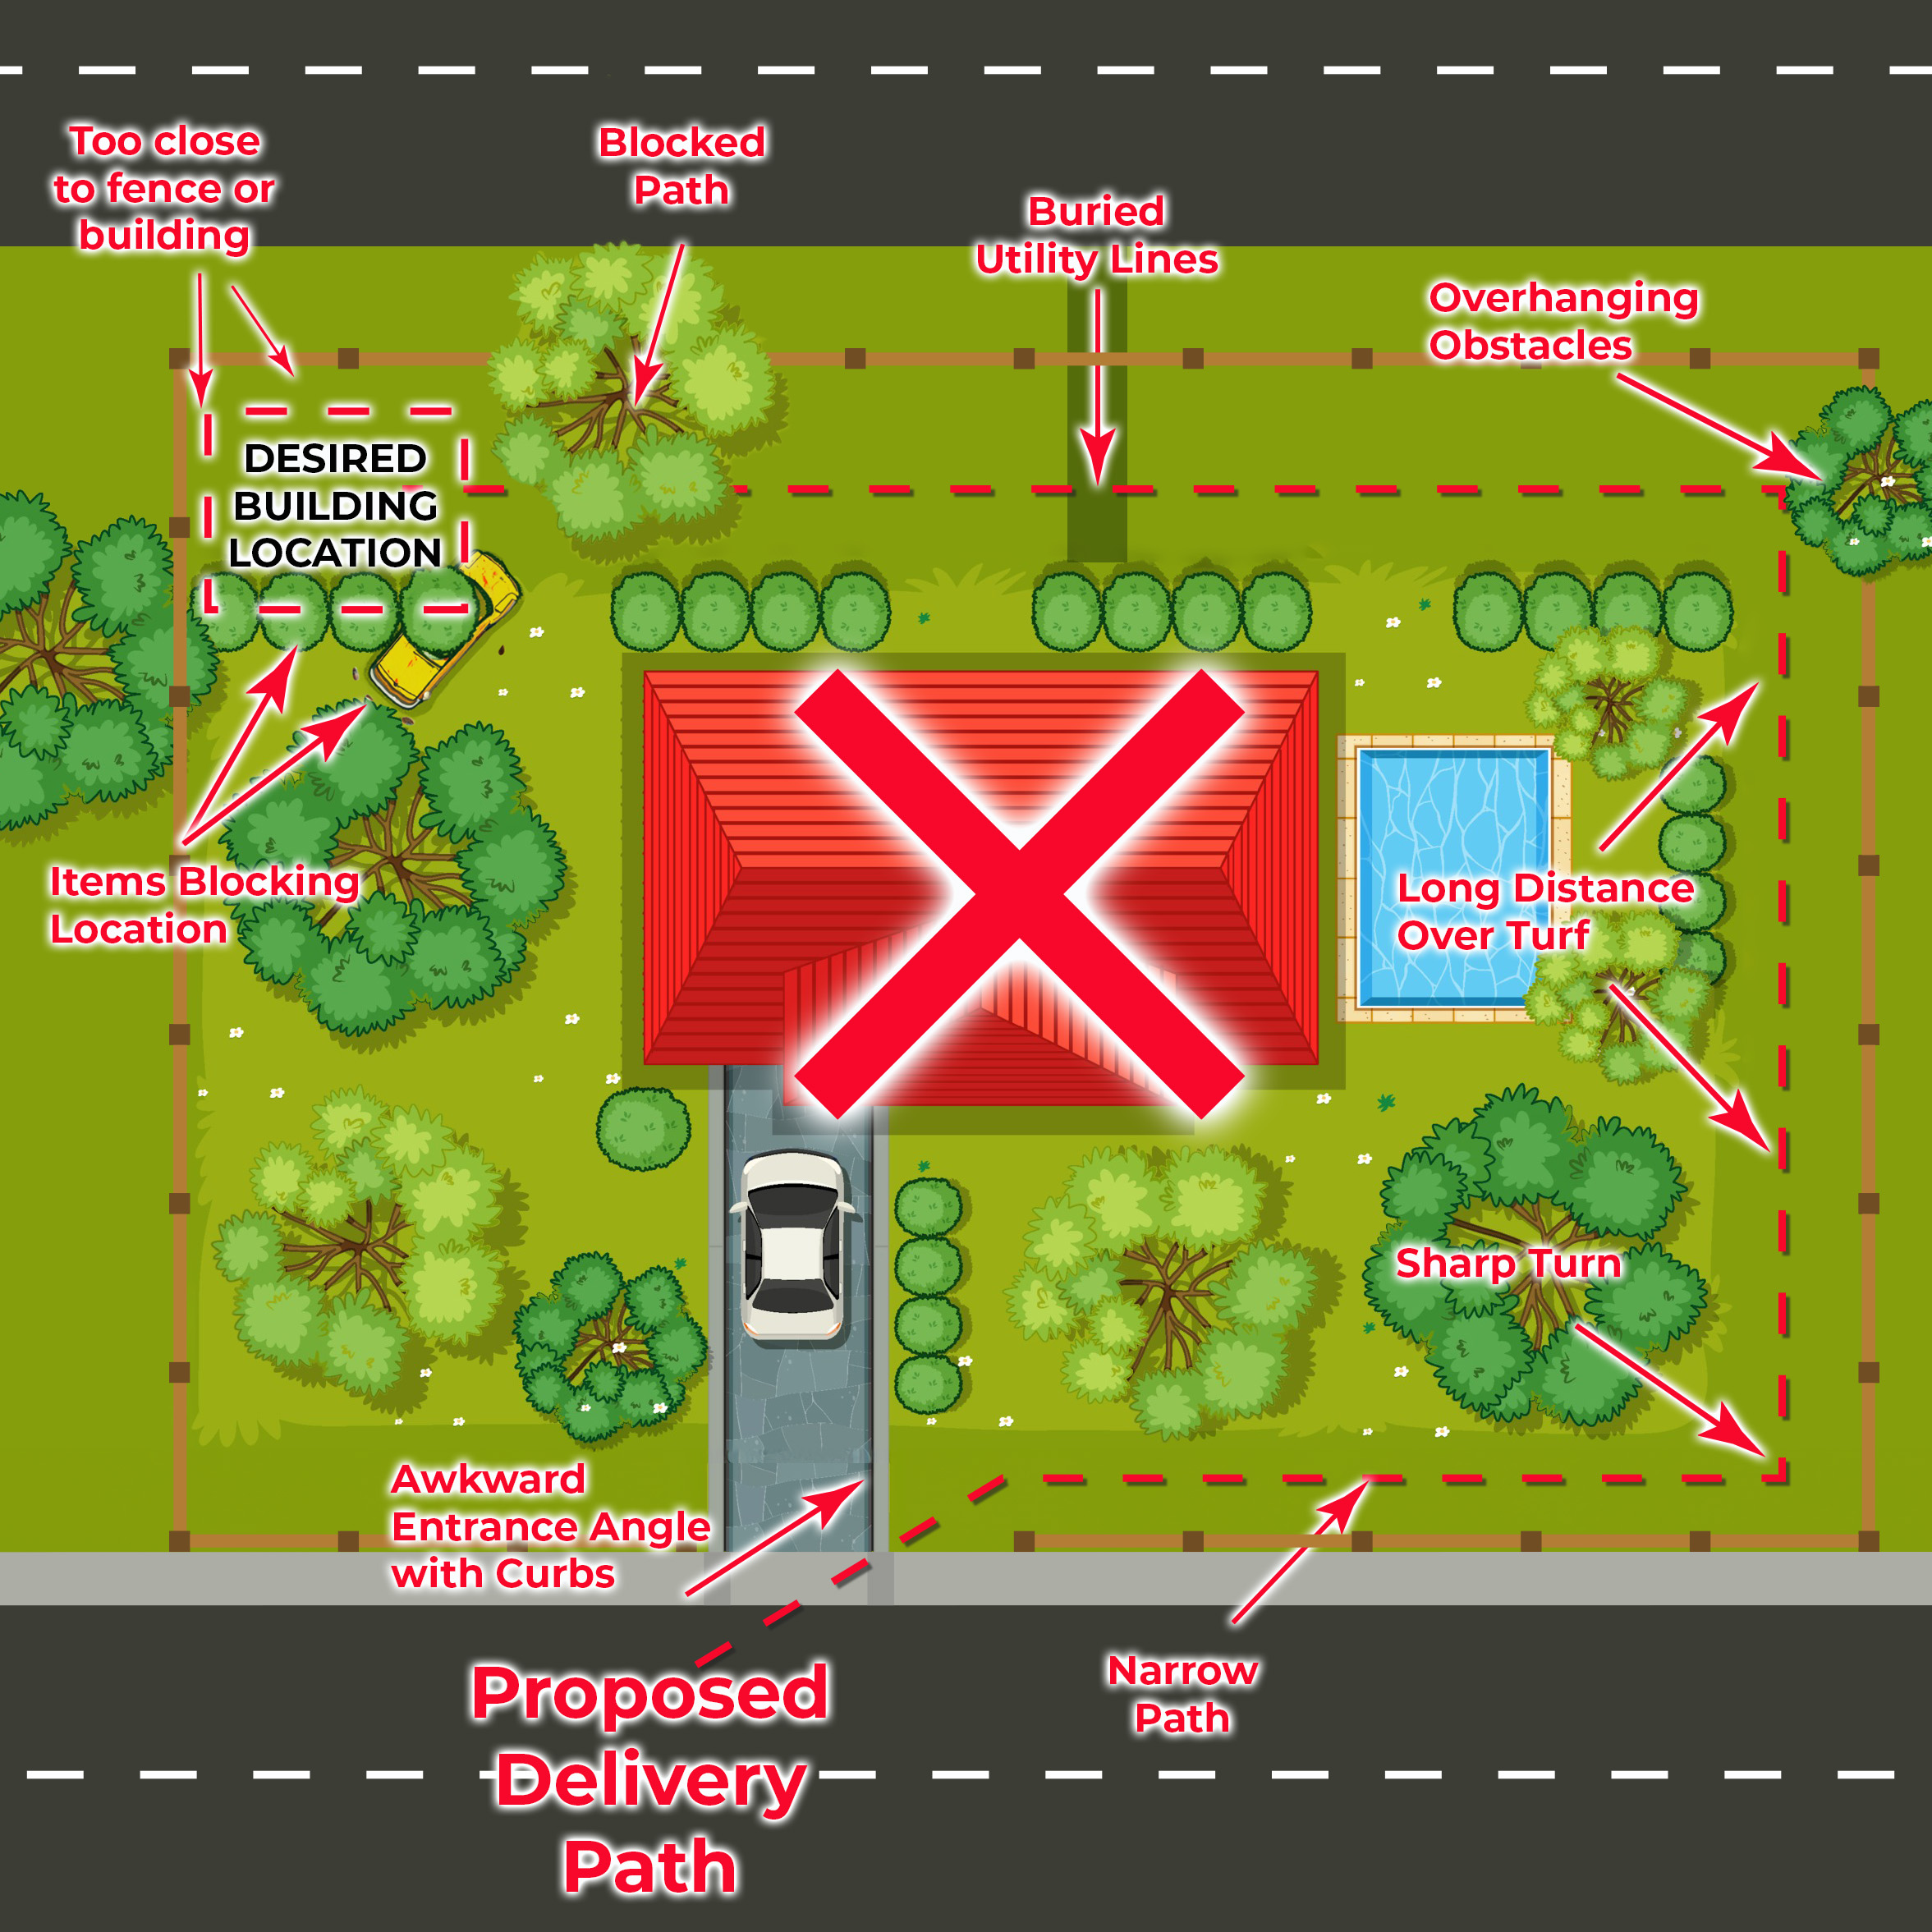
✗ Incorrect
Blocked access, Overhangs, Tight turns, Items at Location, etc.
All deliveries are made using a truck and trailer with an overall length of 50+ feet…
- Make sure your proposed delivery path is as simple as possible, even if that means moving or removing major items like fences, trees, tree limbs, etc.
- If your delivery can’t be made because of poor path planning on your part, you will be charged for redelivery.
- Remember, you assume full liability and responsibility for any damage(s) caused during delivery, or if the delivery vehicle gets stuck.
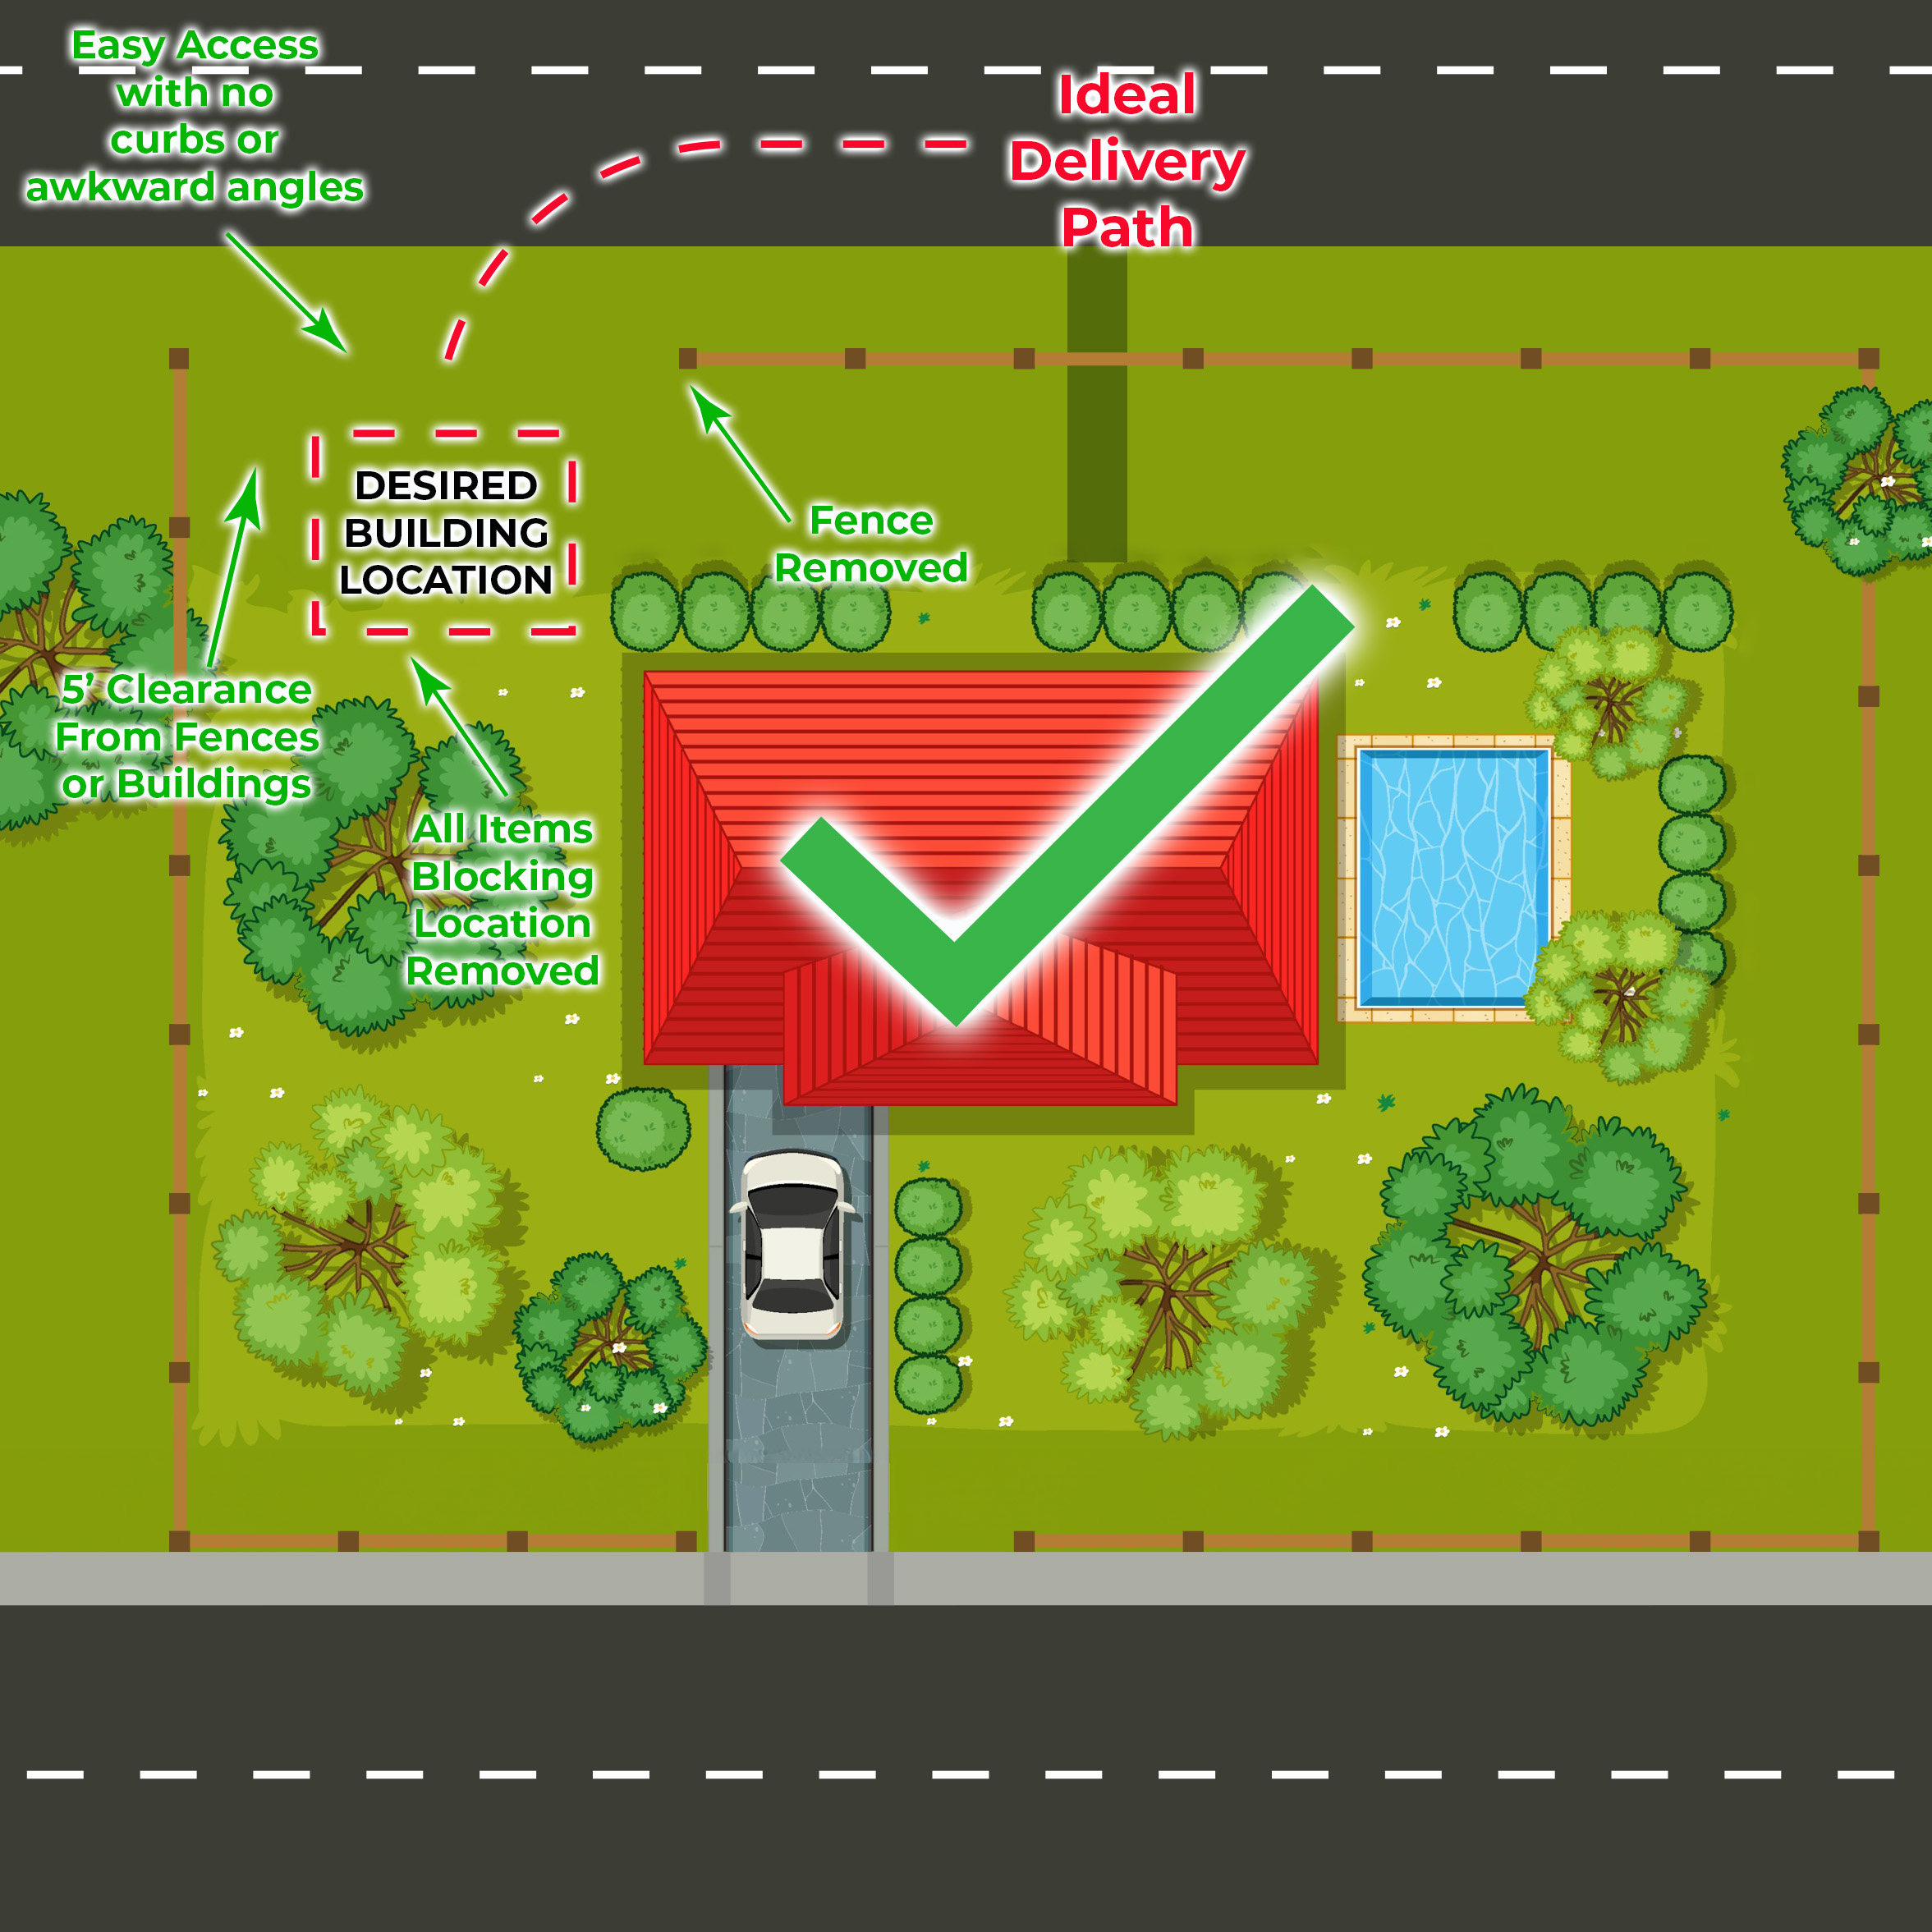
✓ Correct
Clear Path to Buildings Location
Careful planning will ensure a safe and successful installation…
- Physically measure all distances and clearances along the path
- Call 811 to make sure you know utility locations
- Check the site location for level (Limit= +/- 8″)
- Make sure any overhangs are at least 15′ from the ground
- Path to site should be ready 1-2 days before delivery
- Make sure to notify us immediately if weather has affected the site (standing water, large rainfall, muddy conditions, etc.)
- Remember to take any changes in elevation into account (hills, drop offs, ditches, curbs, dips, ruts, etc.)
Level Ground
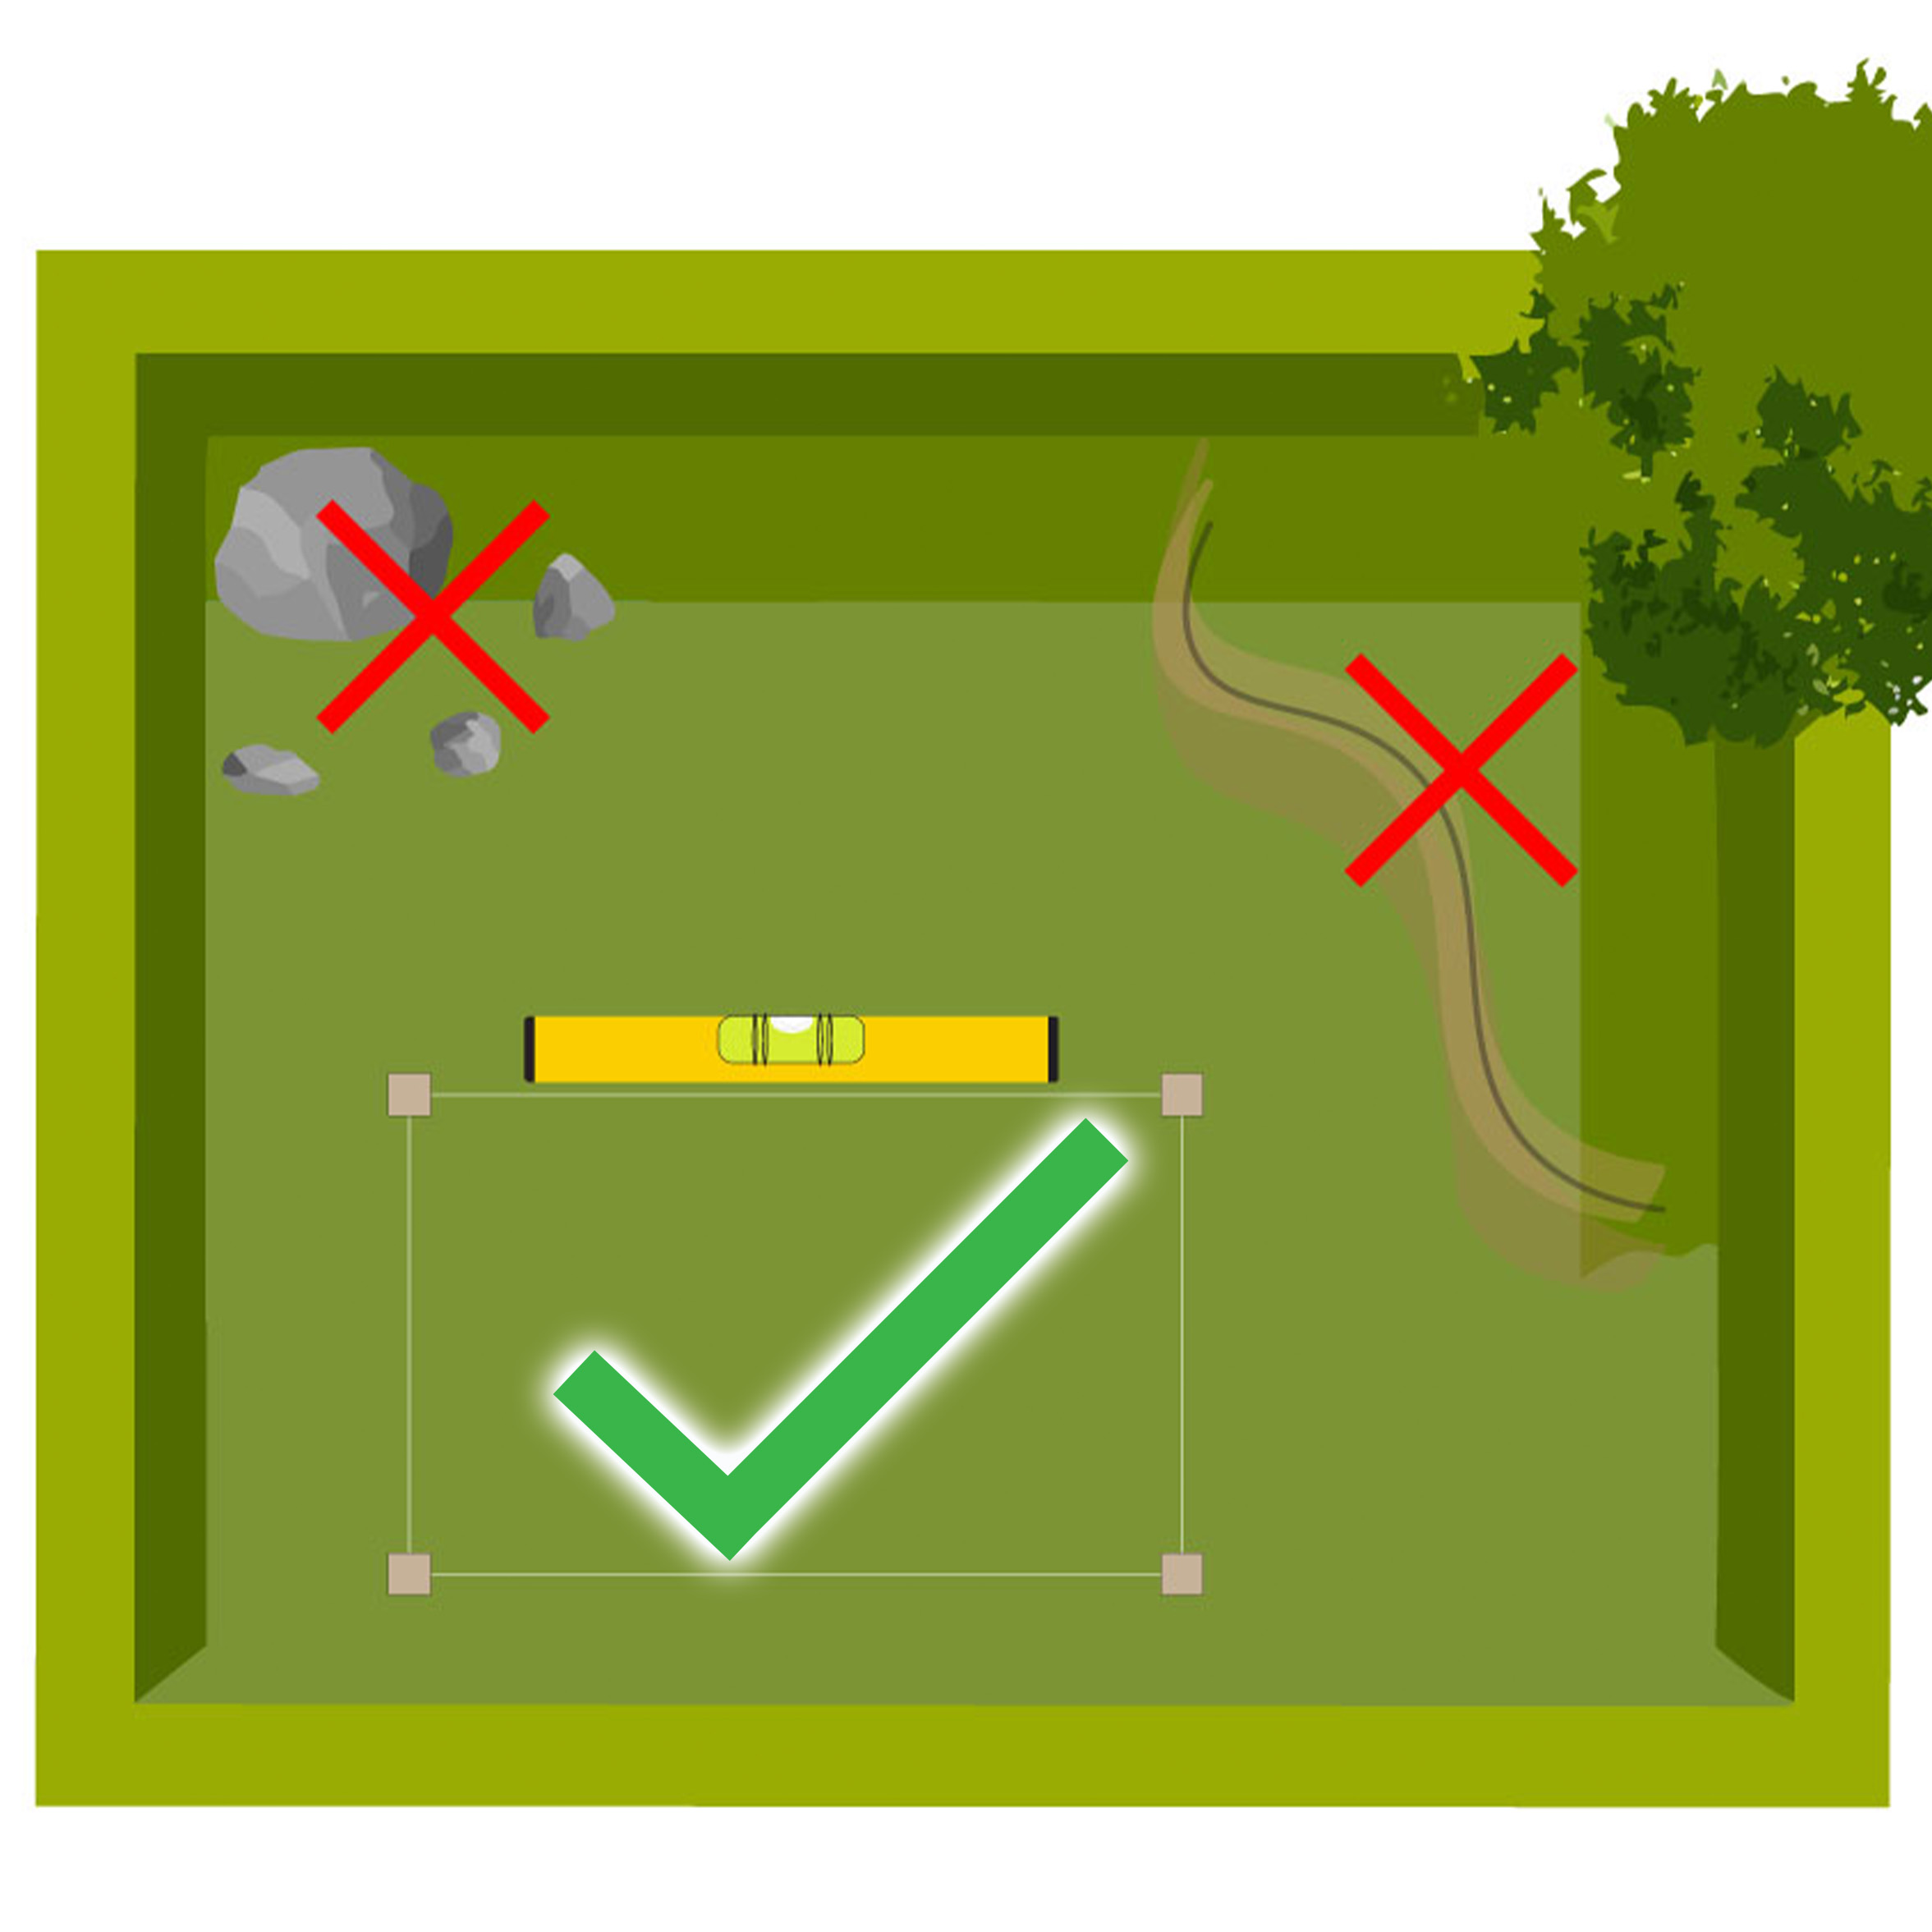
✓ Correct
Level Ground and within Maximum "Out of Level" Allowed +/- 8 inches
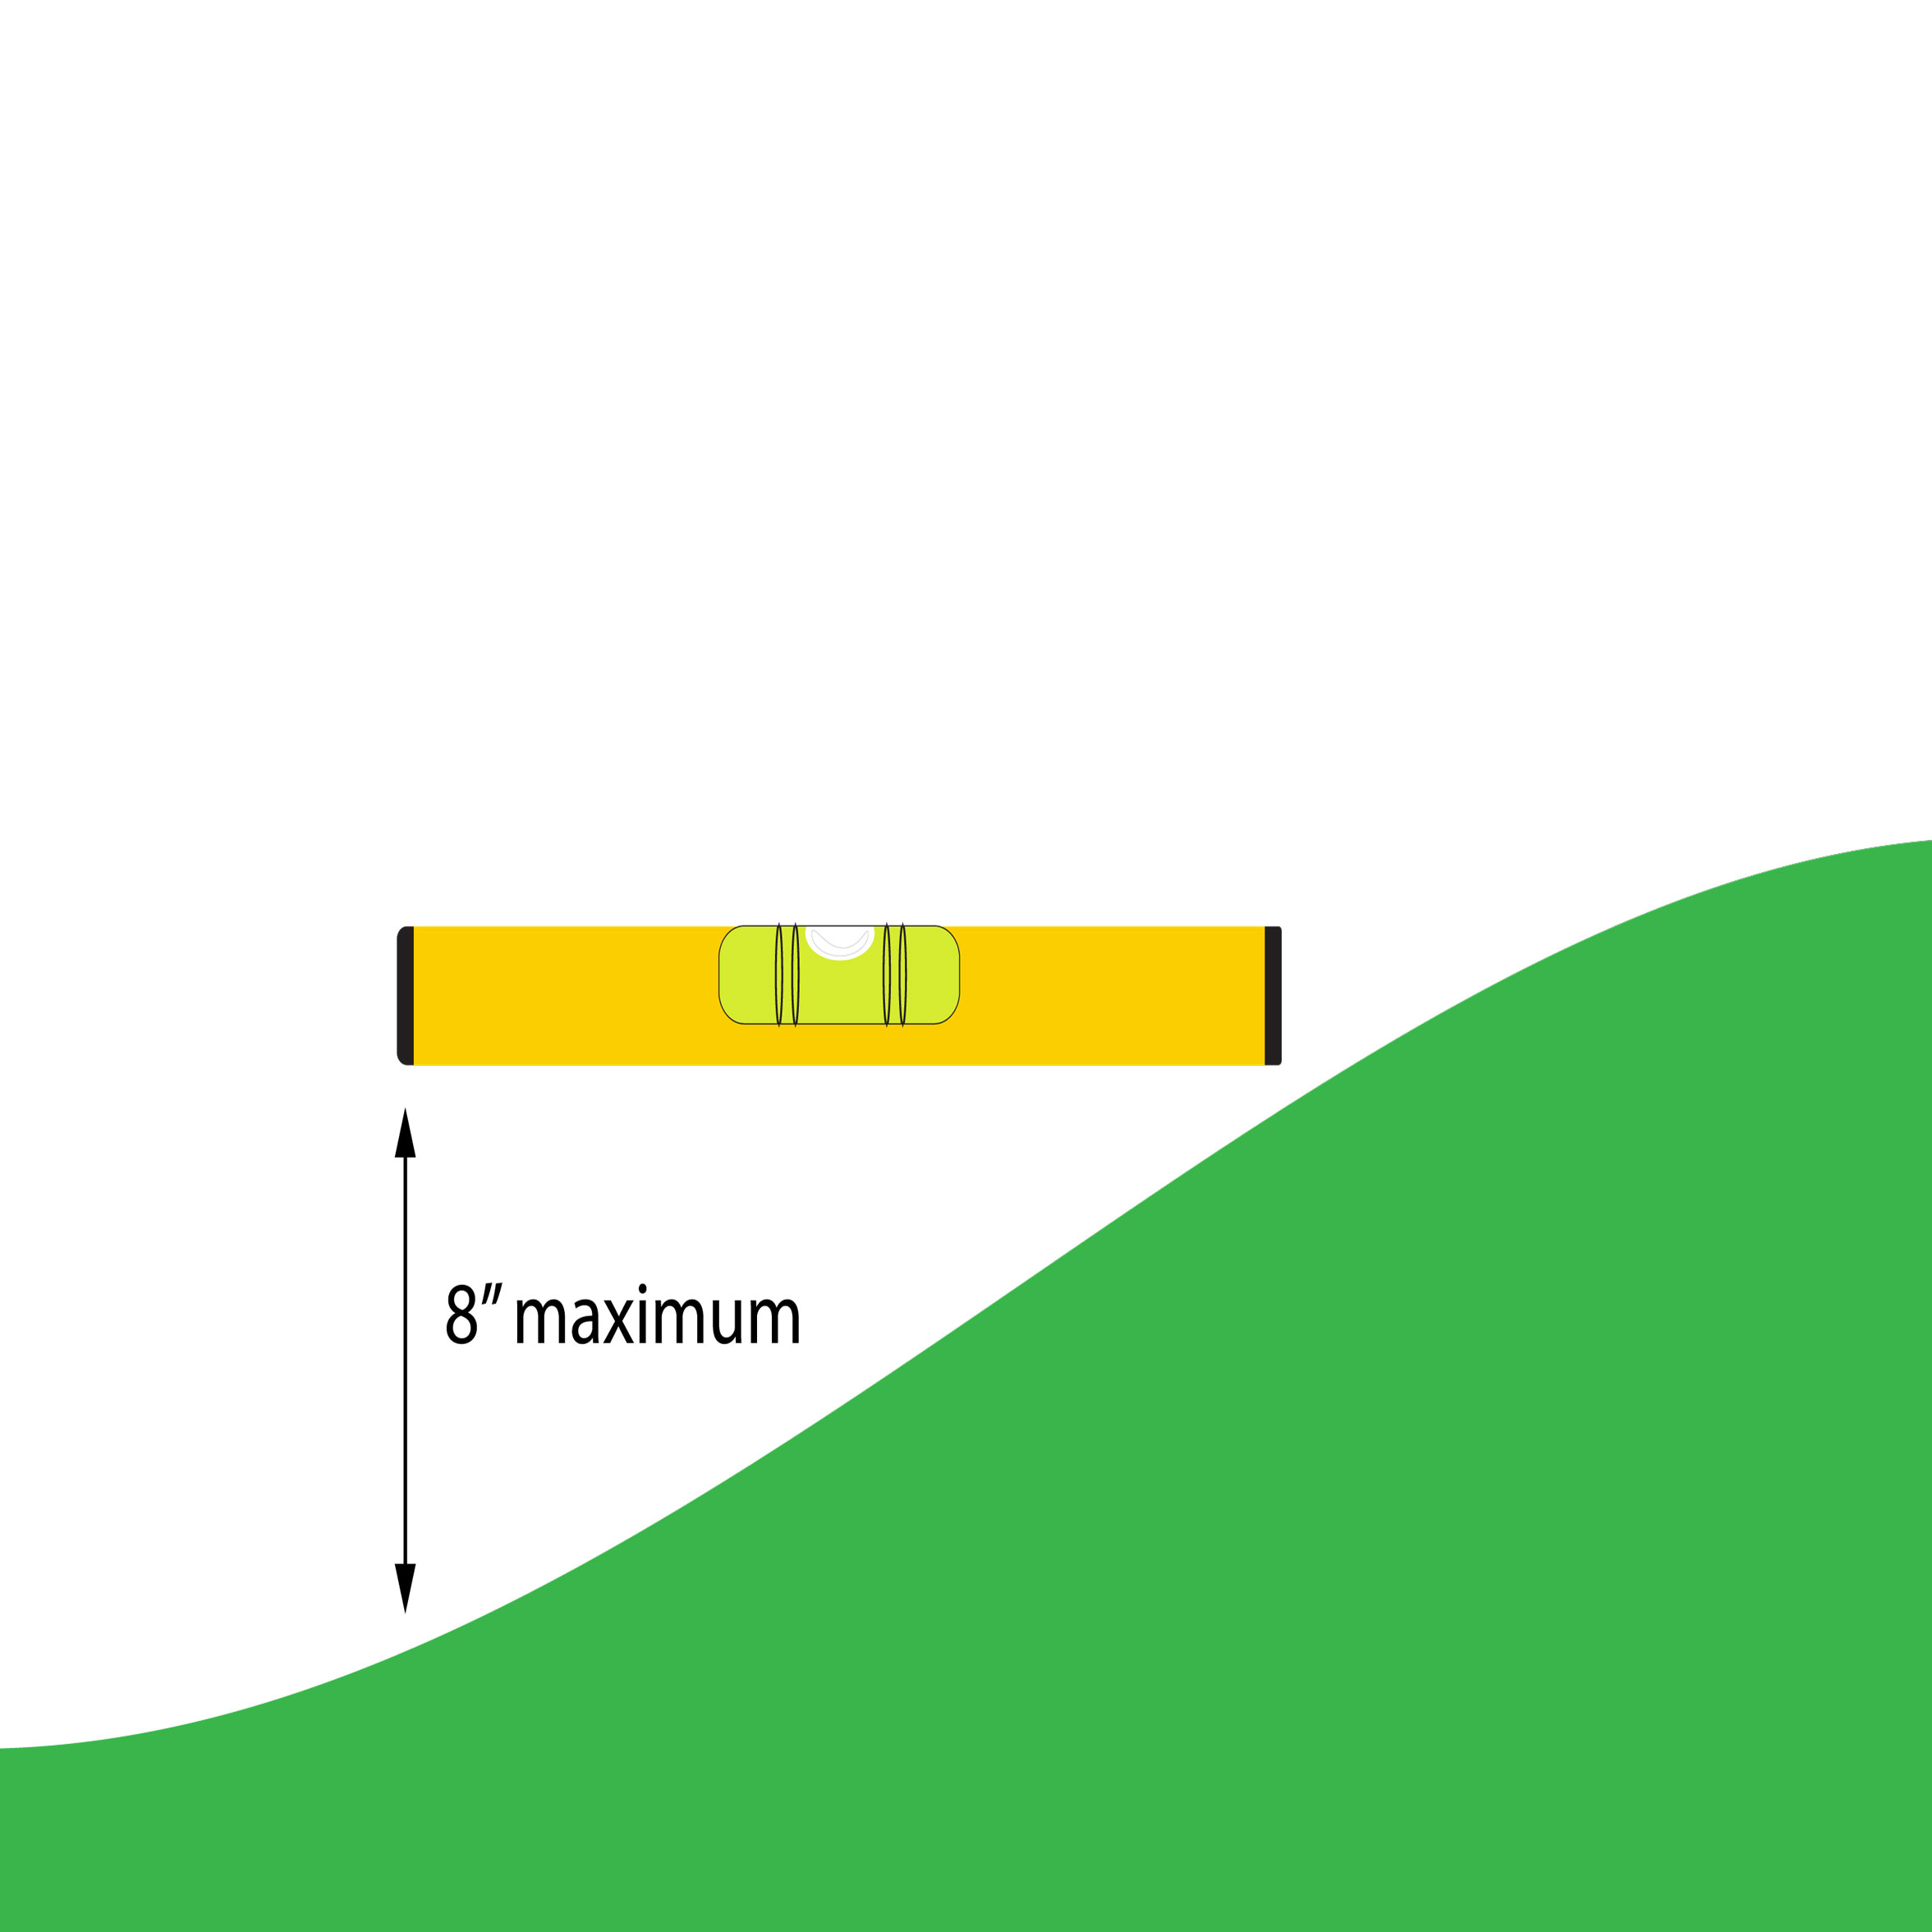
✓ Correct
Physical Measurement of Ground Slope at Site Location.

